Repotting is one of the cheapest ways to extend the life and health of your houseplants, yet it's also one of the most common sources of stress for both plants and their owners. A single misstep - wrong timing, rough handling, or poor soil choice - can set a thriving plant back for months or even kill it outright.
This checklist is built to remove the guesswork. You'll get a clear, step-by-step framework that covers timing signals, tool prep, soil selection, hands-on technique, and post-repot care. Each section focuses on practical decisions and real tradeoffs, so you can move confidently through the process without second-guessing every choice.
Whether you're working with a root-bound monstera or a slow-growing succulent, the same core principles apply. Follow this guide to give your plants the fresh start they need while avoiding the mistakes that lead to shock, rot, or stunted growth.
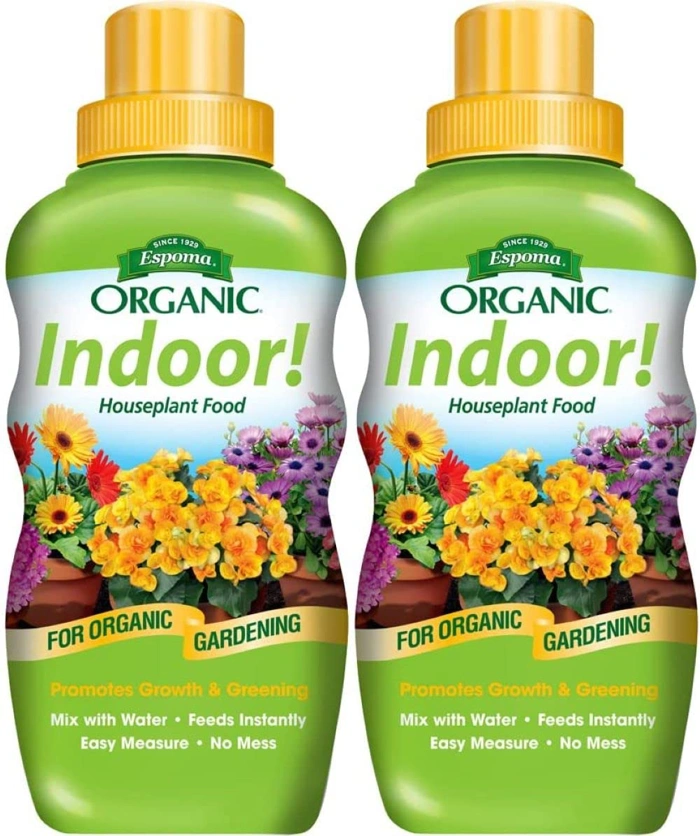
Espoma Indoor! Natural & Organic Liquid Houseplant Food, 8 fl oz, Pack of 2
After repotting, your houseplant needs time to settle into its new container before resuming regular feeding. Espoma Indoor! Natural & Organic Liquid Houseplant Food offers a gentle, organic option for that transition, packaged in a 2-pack of 8 fl oz bottles for $16.95. The formula is designed for indoor plants and avoids harsh synthetic ingredients that can stress roots still recovering from being disturbed.
Wait multipleeeks after repotting before applying any fertilizer. Fresh potting mix already contains nutrients, and newly transplanted roots need time to anchor and repair minor damage before processing additional food. When you're ready to resume feeding, dilute the liquid concentrate according to package directions and apply during the regular watering schedule - typically every two to four weeks during the growing season.
The natural and organic formulation makes this product a good fit for gardeners who prefer plant-based or minimally processed inputs. With a 4.3 rating and two bottles in each pack, you'll have enough to maintain multiple houseplants through several months of recovery and growth. The liquid format mixes easily with water and allows you to adjust strength if you want to start with a lighter feeding after the initial waiting period.
This plant food works well for most common houseplants, including pothos, philodendrons, ferns, and foliage plants. Use it as part of a consistent care routine after your plant has fully adjusted to its new pot, and watch for signs of new growth as an indicator that roots have stabilized and feeding is supporting healthy development.
- ✅ Natural and organic formula gentle on recovering roots
- ✅ 2-pack provides long-term value at $16.95
- ✅ Liquid concentrate easy to dilute and apply
- ✅ Suitable for most common indoor houseplants
- ⚠️ Must wait 4 - 6 weeks after repotting before use
- ⚠️ Requires dilution and measuring before each application
Who This Checklist Is For
This checklist is designed for anyone who feels uncertain about repotting - whether you're moving a houseplant into a larger pot for the first time, recovering from a repotting mistake that left a plant struggling, or simply unsure if your plant actually needs a new container. If you've ever watched a plant decline after repotting and wondered what went wrong, or if you're staring at visible roots and hesitating to act, this guide will walk you through each step with clarity and caution.
First-time repoters often worry about damaging roots or choosing the wrong soil, and that concern is valid: repotting does stress a plant temporarily. People who've experienced plant loss after repotting tend to blame themselves, but the issue is usually timing, technique, or aftercare rather than bad luck. Others delay repotting because they're not confident their plant truly needs it, risking root crowding and nutrient depletion.
This checklist addresses all three scenarios by breaking the process into observable signals, methodical preparation, and gentle handling. You don't need advanced experience or specialty tools - just attention to your plant's current condition, a clean workspace, and the willingness to move slowly. The goal is to build your confidence through structure, so repotting becomes a routine part of plant care rather than a source of anxiety.
By following the steps in order and understanding the reasoning behind each one, you'll recognize when repotting is necessary, avoid common pitfalls like overwatering immediately afterward, and give your plant the stability it needs to recover and grow.
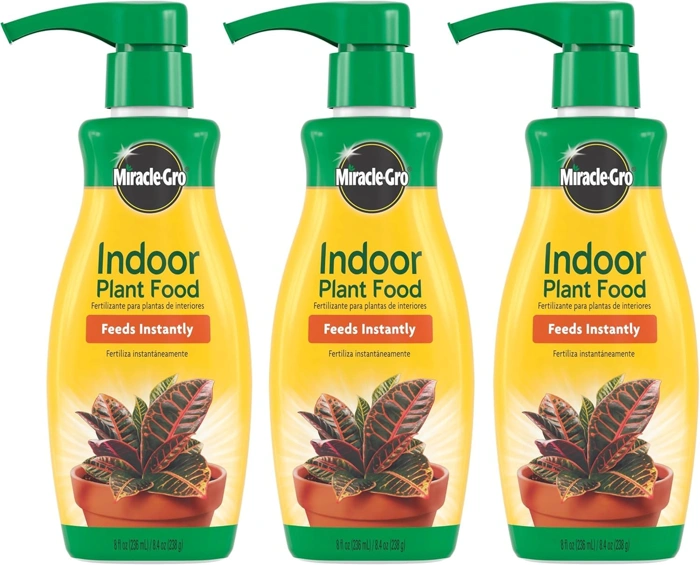
Houseplant Food, 8-oz. 3 Pack
For readers maintaining multiple houseplants, the Houseplant Food 8-oz. 3 Pack offers a convenient multi-bottle option that reduces the need for frequent reordering. This three-pack is priced at $23.00, which works out to approximately the listed amount per 8-ounce bottle - a practical choice if you're repotting several plants at once or feeding a larger collection throughout the growing season. The product holds a 4.7 out of 5 rating, suggesting consistent user satisfaction across a range of indoor plants.
Because each bottle contains the listed size, you can dedicate one to high-feeders like pothos or philodendrons, another to slower-growing varieties, and keep a third on hand for post-repotting care without cross-contamination. The three-pack format works especially well if you stagger your repotting schedule across spring and early summer, ensuring you always have fresh nutrient solution ready when root systems are actively establishing in new soil.
When comparing value, consider how many plants you repot each season and how often you feed. A three-pack suits collections of multiple or more houseplants, while smaller households may find a single larger bottle more economical per ounce. The convenience of having multiple bottles on hand balances the slightly higher per-unit cost, especially if you prefer to avoid shipping delays mid-season.
- ✅ Three-pack format reduces reorder frequency for larger collections
- ✅ Approximately $7.67 per 8-ounce bottle when purchased as a set
- ✅ 4.7 out of 5 rating reflects consistent user satisfaction
- ✅ Multiple bottles allow dedicated use for different plant types
- ⚠️ Per-ounce cost may be higher than buying a single larger bottle
- ⚠️ Three-pack size may be excessive for small collections
Signs Your Plant Needs Repotting
Repotting at the right time protects your plant from stress and keeps roots healthy. Watch for roots growing out of drainage holes at the bottom of the pot - this is one of the clearest signs that your plant has outgrown its container. When you lift the pot, you may see a dense, circling root ball pressing against the edges, leaving little room for soil.
Water behavior changes when a plant becomes rootbound. If water runs straight through the pot without being absorbed, or if the soil dries out much faster than it used to, the root mass may be displacing too much soil. You might also notice slower growth during the active growing season, smaller leaves, or a plant that seems stable but isn't thriving despite consistent care.
Soil quality degrades over time. If the potting mix looks compacted, breaks apart in chunks, or pulls away from the pot's sides, it's no longer providing the structure and drainage your plant needs. Most houseplants benefit from repotting every 12 to 18 months, though slow growers may go longer. Repot during the plant's active growth period - typically spring or early summer - so it can recover and establish quickly in fresh soil.
Avoid repotting just because a pot looks small or out of habit. Unnecessary repotting disrupts roots and can set growth back. If your plant is healthy, growing steadily, and the soil still drains well, leave it alone until you observe one or more of these concrete signals.
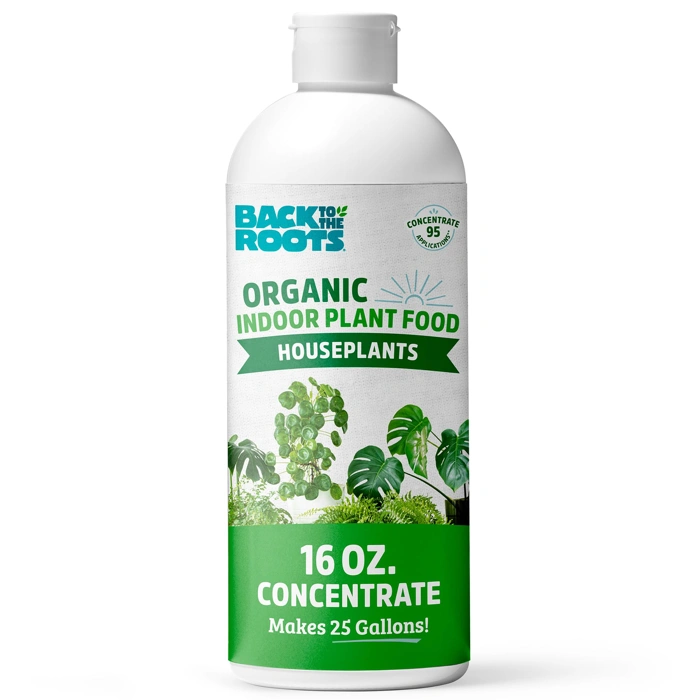
Back to the Roots Natural & Organic Indoor Liquid Plant Food, 16oz
Budget-conscious plant owners who maintain a small to mid-sized indoor collection will find the Back to the Roots Natural & Organic Indoor Liquid Plant Food a practical choice at $11.99 for the listed size. The organic formulation supports straightforward feeding schedules without requiring upfront investment in larger multi-packs, and the 4.3 rating reflects consistent user experience. This single-bottle format works well for households that prefer to test a product before committing to bulk purchases or that simply don't need months of inventory on hand.
At this price point, you're getting an accessible entry into organic feeding that pairs naturally with the repotting process - dilute according to label directions and apply after the plant has settled into fresh soil for two to three weeks. The 16-ounce size stores easily on a shelf or under a sink, and the straightforward dilution ratios make it easy to avoid overfeeding mistakes that can stress newly repotted plants. For readers managing ten or fewer houseplants, this option delivers organic nutrition without the shelf-space or cost commitment of larger concentrate bottles.
The tradeoff is simple: smaller volume means more frequent reordering if your collection grows, and per-ounce cost runs higher than concentrate options in larger formats. If you're just starting out, repotting a few plants seasonally, or prefer to rotate products based on plant response, the single-bottle approach keeps things flexible and low-risk.
- ✅ Budget-friendly at $11.99 for 16 ounces
- ✅ Organic formulation for straightforward feeding
- ✅ Single-bottle format requires no bulk commitment
- ✅ Compact size for easy storage
- ⚠️ Smaller volume means more frequent reordering for larger collections
- ⚠️ Higher per-ounce cost compared to concentrate options
Pre-Repotting Checklist: What to Gather
- New pot 1-2 inches larger in diameter than current pot
- Fresh potting soil appropriate for your plant type
- Drainage tray or saucer for new pot
- Watering can with room-temperature water
- Newspaper or drop cloth to protect surfaces
- Small trowel or spoon for soil handling
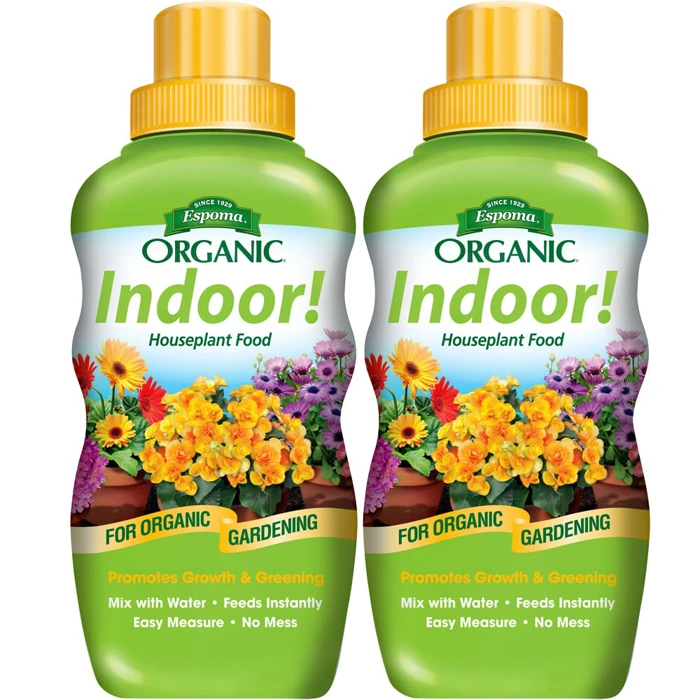
Espoma Concentrated Organic Indoor Plant Food, 8 Ounce, Pack of 2
Concentrated formulas let you control nutrient strength, which matters when roots are settling into fresh soil. The Espoma Concentrated Organic Indoor Plant Food comes as a two-pack of 8-ounce bottles for $15.97, offering extended use compared to ready-to-use options. With a 4.6 out of 5 rating, users appreciate the ability to dilute to suit different plant needs and recovery stages.
After repotting, roots are vulnerable and can be sensitive to full-strength feeding. Concentrated liquid plant food allows you to mix a gentler solution during the first few weeks, then gradually increase as the plant establishes. Each 8-ounce bottle yields multiple gallons of diluted feed, making the two-pack format practical for households with several plants or regular repotting schedules.
The organic formulation supports gradual nutrient release without the salt buildup that can stress freshly transplanted roots. Because concentration gives you flexibility, you can adjust feeding intensity based on plant size, growth rate, and post-repot recovery. If you rotate through multiple houseplants or repot seasonally, a concentrated product stretches further than pre-mixed options and reduces packaging waste over time.
- ✅ Two 8-ounce bottles for $15.97 offer long-term value
- ✅ Concentrated formula allows custom dilution for post-repot sensitivity
- ✅ Organic ingredients support gradual nutrient delivery
- ✅ 4.6 out of 5 rating reflects consistent user satisfaction
- ⚠️ Requires measuring and mixing before each use
- ⚠️ Concentration means careful dosing is necessary to avoid overfeeding
The Repotting Process: Step-by-Step
- Water your plant 1-2 days before repotting (not the day of)
- Lay down newspaper or drop cloth in your work area
- Gently tap and squeeze the old pot to loosen the root ball
- Carefully slide the plant out, supporting the base
- Inspect roots and trim any that are black, mushy, or dead
- Loosen the root ball gently with your fingers if it's tightly wound
Common Mistakes That Kill Repotted Plants
Most repotting failures come from a handful of preventable mistakes that stress or suffocate the root system. Choosing a pot that's too large is one of the most common errors - when a small root ball sits in too much soil, the extra mix stays wet far longer than the roots can absorb it, creating conditions that encourage root rot. Moving up only one or two inches in diameter gives roots room to grow while keeping moisture balanced.
Burying the stem too deep is another frequent killer. When soil covers the crown or lower stem, it traps moisture against tissue that isn't designed to stay wet, leading to stem rot that spreads quickly. Always keep the original soil line visible and leave a small gap between the soil surface and the pot rim for watering.
Overwatering immediately after repotting adds unnecessary stress when roots are already adjusting to their new environment. Freshly potted plants need time to establish contact with the surrounding soil, and saturated conditions prevent oxygen from reaching the roots. Water lightly to settle the soil, then wait until the top layer begins to dry before watering again.
Using garden soil instead of a proper potting mix is a setup for compaction and poor drainage. Garden soil is dense and holds too much water in containers, starving roots of air and creating a heavy, sticky mass. Potting mixes are formulated to stay loose, drain freely, and support root health in confined spaces.
Repotting during active stress - such as during a heat wave, immediately after purchase, or while the plant is flowering - forces the plant to manage two challenges at once. Roots need energy to recover from transplant shock, and a plant already dealing with environmental stress or reproductive effort has fewer reserves to draw on. Wait for a stable period when the plant is in active growth and conditions are moderate.
Avoiding these mistakes comes down to patience and observation: match the pot size to the root ball, preserve the original planting depth, water with restraint, use the right medium, and choose your timing carefully. Each decision protects the root system and gives your plant the best chance to establish and thrive in its new container.
Post-Repotting Care Checklist
- Keep plant out of direct sunlight for 3-5 days to reduce stress
- Monitor soil moisture daily but avoid overwatering
- Wait 4-6 weeks before resuming fertilizer
- Watch for signs of shock: slight drooping is normal for 1-2 days
- Avoid moving the plant around for at least two weeks
- Resume regular watering schedule once plant adjusts
When Not to Repot
Timing can make the difference between a successful transplant and a plant that struggles for months. Avoid repotting during dormancy - typically late fall through winter for most houseplants - when root growth slows and the plant cannot quickly establish itself in new soil. Active blooming is another poor window; repotting diverts energy away from flowers and can cause buds to drop or blooms to fade prematurely. If your plant is already stressed by pests, disease, underwatering, or sunburn, wait until it recovers before introducing the additional shock of repotting.
Spring and early summer offer the best conditions because most houseplants enter active growth, producing new roots that anchor quickly into fresh soil. High heat in midsummer can increase transplant stress, especially for species sensitive to temperature swings. If you must repot outside the ideal window, keep the root ball as intact as possible, water carefully, and place the plant in stable, moderate light until new growth appears. The goal is to intervene when the plant has the energy and biological momentum to rebuild, not when it is conserving resources or focused on reproduction.
Final Takeaway
Repotting is one of the most valuable skills you can develop as a houseplant owner, and it costs almost nothing beyond a bag of soil and a slightly larger pot. When you follow a clear checklist and prepare your workspace, tools, and fresh mix ahead of time, the process becomes straightforward and stress-free. Most plants recover quickly from the minor disturbance of repotting - wilting or drooping for a day or two is normal and doesn't signal failure. Keep soil lightly moist, avoid direct sun for the first week, and resist the urge to fertilize immediately. Within two to three weeks, new root growth and fresh foliage will confirm that your plant has settled in. The confidence you gain from one successful repot carries forward, making each subsequent session faster and easier. Treat the checklist as your safety net: it keeps you organized, prevents forgotten steps, and turns what feels like a risky task into a repeatable routine that keeps your collection healthy for years.